Docker Compose
Day 18 of 90daysofdevops

I currently working as Developer with the DotNet,SQL,DevOps and more!
Hello Readers,
Here we are Day 18 of #90daysofdevops
👣 Topics for #day18
Docker Compose
Scenerio based example of Docker Compose
Tasks of Day 18
Docker Compose
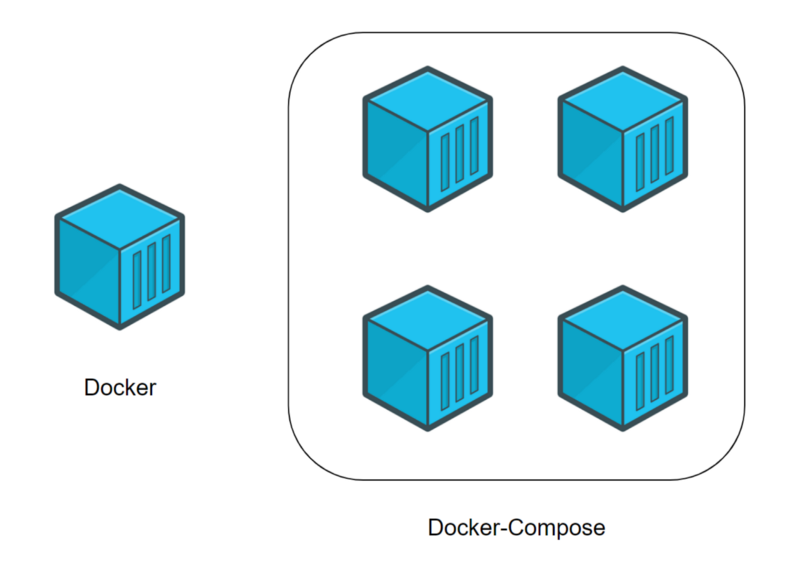
Docker Compose is a tool for defining and running multi-container Docker applications. It allows you to define your application’s services, networks, and volumes in a single YAML file, and then spin up all the containers with a single command.
With Docker Compose,
You can define your application’s architecture using a declarative syntax.
You can specify which services your application needs, what images to use for each service, and how to connect these services to each other.
You can also specify how to expose ports, volumes, environment variables, and other configuration options for each service.
Docker Compose simplifies the process of managing multi-container Docker applications, as you can define and manage all of the containers that make up your application as a single unit. This makes it easier to deploy, scale, and manage complex applications, especially those with multiple services and dependencies.
To use Docker Compose, you will need to install it on your local machine, define your application’s architecture in a YAML file, and then use the docker-compose command to start and manage your application.
Scenerio based example of Docker Compose:
Let's say you are developing a web application that consists of a frontend built in React and a backend built in Node.js.
The frontend needs to communicate with the backend via a REST API. Additionally, you want to use a MongoDB database to store data for the backend.
To set up this application, you could use Docker Compose.
You would define three services in your docker-compose.yml file:
A service for the frontend, which uses a Docker image based on Node.js to run the React application.
A service for the backend, which uses a Docker image based on Node.js to run the Node.js application.
A service for the MongoDB database, which uses a Docker image for MongoDB.
You would also define a network in the docker-compose.yml file to connect these services together.
In the docker-compose.yml file, you would specify how the services should communicate with each other.
For example, you would expose the backend's port for the REST API, and connect the frontend to that port. You would also specify that the backend should use the MongoDB service for its database.
Once you have defined the services and network in the docker-compose.yml file, you can use the docker-compose up command to start all the containers and run your application.
This command will start the three services in separate containers and connect them together via the defined network.
Using Docker Compose in this scenario makes it easy to set up and run the entire application with just one command. It also ensures that the same environment is used across different machines and environments, which helps with consistency and reproducibility. Additionally, Docker Compose allows you to easily scale and manage the application as it grows.
Example of a docker-compose.yml for above scenerio:
version: "3.9"

services:
  frontend:
    image: node:14
    command: npm start
    working_dir: /app/frontend
    volumes:
      - ./frontend:/app/frontend
    ports:
      - "3000:3000"
    depends_on:
      - backend

  backend:
    image: node:14
    command: npm start
    working_dir: /app/backend
    volumes:
      - ./backend:/app/backend
    environment:
      MONGO_URI: mongodb://mongo:27017/mydb
    depends_on:
      - mongo

  mongo:
    image: mongo:5.0
    restart: always
    volumes:
      - ./data:/data/db
    ports:
      - "27017:27017"
Explanation:
The
frontendservice uses thenode:14image to run the frontend application. We mount the local./frontenddirectory to/app/frontendin the container, so that any changes made to the code will be reflected in the container. We also expose port 3000 for the frontend to run on, and specify that it depends on thebackendservice being up first.The
backendservice also uses thenode:14image to run the backend application. We mount the local./backenddirectory to/app/backendin the container, so that any changes made to the code will be reflected in the container. We also set theMONGO_URIenvironment variable tomongodb://mongo:27017/mydb, which tells the backend to connect to themongoservice's MongoDB instance. We specify that thebackendservice depends on themongoservice being up first.The
mongoservice uses themongo:5.0image to run a MongoDB database. We mount the local./datadirectory to/data/dbin the container to persist data. We also expose port 27017 for the MongoDB instance to run on.
With this docker-compose.yml file, we can use the docker-compose up command to start all three services, and they will be connected together via a default network created by Docker Compose. The frontend will be available at http://localhost:3000, and will communicate with the backend via the backend service's REST API. The backend will store and retrieve data in the MongoDB instance provided by the mongo service.

Tasks of Day 18

Docker Search

Docker Pull

Docker Images

Docker Run

Docker Inspect

Docker Logs

Docker Stop

Docker Start

Docker rm

Application Run via Docker Compose


Thank you for reading my Blog. I hope you have learnt something from it! If you find this blog helpful, please like, share, and follow me for more interesting posts like this in the future.


